The scale lies. You can gain 2 kg of muscle, lose 2 kg of fat, and your bathroom scale shows the exact same number. That’s why tracking muscle gains with photos and body measurements beats stepping on a scale every day. AIVancePro’s conversational AI coach centralizes this tracking right inside the app and helps you read the variations without falling into the bodyweight trap.
Why the Scale Alone Isn’t Enough
Bodyweight fluctuates 1 to 3 kg over 24 hours from hydration, digestive contents, muscle glycogen and sodium. You can weigh 78 kg in the morning and 80 kg at night without having gained an ounce of actual tissue. Basing decisions only on this number leads to panic spirals or false wins.
The real transformation metric is body composition: how much muscle vs how much fat. Tracking it monthly without paying for a DEXA scan (~$100 per session) means relying on two reliable tools, progress photos and tape measurements.
These two methods capture what the scale misses: shape, density, definition. A lifter who adds 1 kg of lean mass over 12 weeks will see real photo changes and clear measurement deltas in arms and chest, while the scale barely budges.
How to Take Progress Photos That Actually Compare
A before/after photo is useless if you change lighting, angle, pose and time of day between shots. Here’s the protocol that makes comparisons usable.
Cadence: every 2 to 4 weeks. Weekly is too frequent, changes are invisible to the eye and you’ll discourage yourself. Monthly is the sweet spot for both bulking and cutting phases.
Conditions to standardize:
- Same room, same plain wall (light color preferred).
- Same time: morning, fasted, after using the bathroom.
- Same lighting: indirect natural light, never backlit.
- Same outfit: shorts or briefs, shirtless for men, sports bra + shorts for women.
- Phone at navel height, ~2 m distance, no flash.
The 4 required angles:
- Front, arms relaxed by your sides.
- Right profile, same neutral posture.
- Back, same neutral posture.
- Flexed pose: front with abs and biceps contracted (shows what your training actually reveals).
Pro tip: shoot all 4 angles twice, once relaxed, once flexed. You’ll see the gap between your everyday physique and your session physique, and you can track both independently. Keep every shot in a dated folder, not loose in your camera roll, or you’ll lose the trail within 3 months.
Body Measurements: Which Points to Track and How
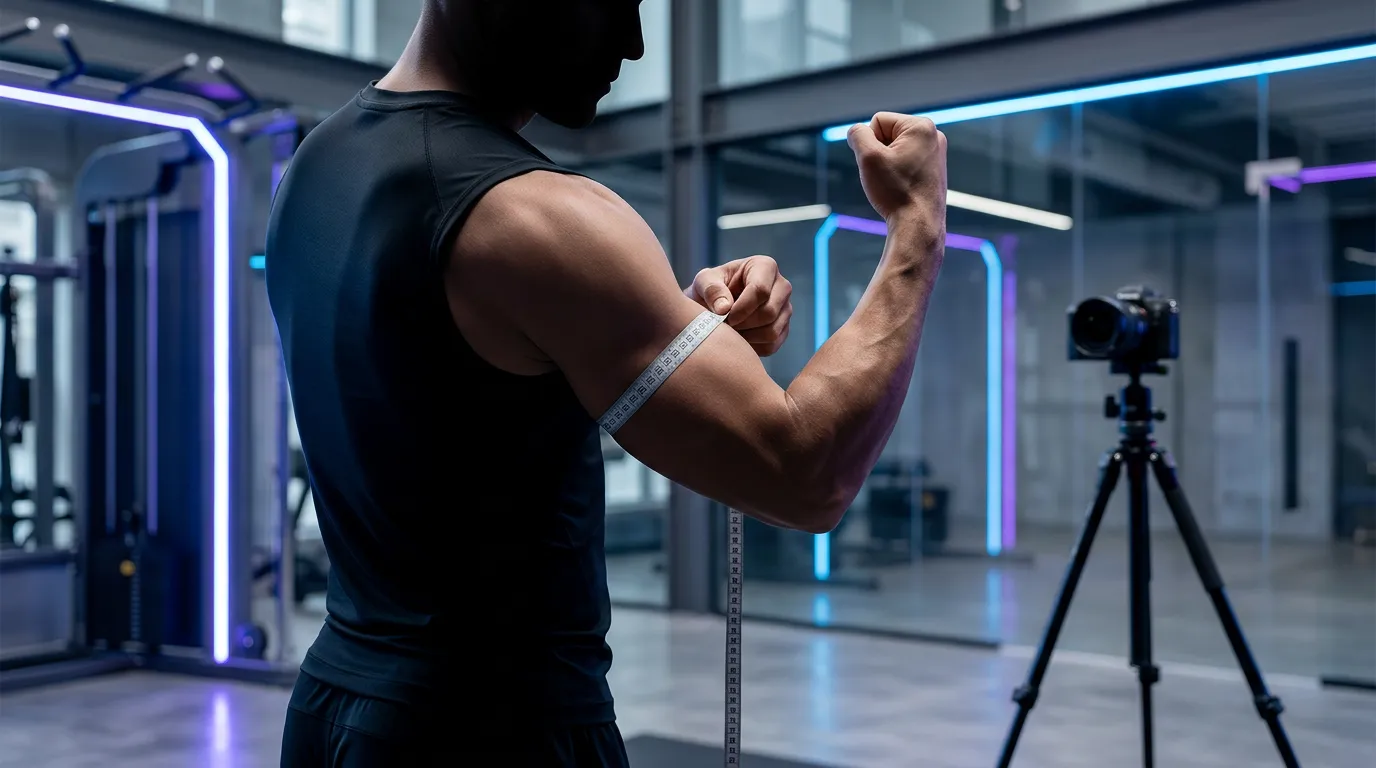
A tailor’s tape measure (cheap at any drugstore) remains the most precise at-home tracking tool. Here are the zones to log.
For men (bulk/cut):
- Neck: thinnest point, just under the Adam’s apple.
- Shoulders: full circumference at the widest point.
- Chest: nipple line, arms relaxed by sides, end of exhale.
- Arm circumference (left + right): mid-humerus, arm relaxed straight, then flexed for comparison.
- Forearm: widest zone, arm extended.
- Waist: at the navel, standing relaxed (don’t suck in).
- Hips: widest point of the glutes.
- Thigh (left + right): 15 cm above the kneecap.
- Calf: widest zone.
For women: same points, optionally adding hip bone width to track waist-to-hip ratio.
Precision rule: measure each point three times and average the result. The tape should be snug without compressing skin. Keep it parallel to the floor (tilted tape gives skewed numbers). Same operator if possible, if your partner measures your arm one time and you measure yourself the next, you introduce a 0.5 to 1 cm bias that pollutes the read.
Frequency and Timing of Your Tracking
Classic trap: measuring too often. You’ll see noise (0.5 cm variations from hydration and food intake) without signal (real muscle change).
Recommended cadence:
- Photos: every 4 weeks.
- Measurements: every 2 weeks.
- Weight: 1× per week max (or never, if it stresses you out).
The right moment: early morning, fasted, post-bathroom. That’s the most reproducible state. Log the date and numbers in a journal, paper, iOS Notes, or directly inside AIVancePro which timestamps your entries automatically.
The judging horizon: minimum 8 to 12 weeks before calling a trend. At 4 weeks you might see a signal but it’s too short to conclude. Over 12 weeks with a coherent program, expect 1 to 3 cm of variation on arms and chest in bulks, and 2 to 5 cm on the waist in cuts.
Tracking Loads and Performance in Parallel
Photos and measurements show the outcome. To verify your training is consistent with that outcome, you also need to log loads and sets.
Key indicators to track session after session:
- Weight × reps × sets for compound lifts: bench, deadlift, squat, OHP, pull-ups.
- Weekly volume per muscle group (effective sets, typically 10 to 20 per week per muscle).
- RPE or RIR (rate of perceived exertion / reps in reserve) to adjust load without guessing.
Without these numbers, you can’t tell if visual stagnation comes from a training plateau, undereating, or poor recovery. When your photo hasn’t moved in 6 weeks but your bench climbed 5 kg in the same window, it’s probably a hidden caloric deficit, not a program problem.
How AIVancePro Centralizes Your Whole Tracking
AIVancePro’s integrated conversational AI coach bundles three tracking streams into one app:
- Measurements: you input your numbers (neck, arms, chest, waist, thigh, calf) every 2 weeks, the coach plots the curve and flags significant variations vs noise.
- Photos: you upload your 4 angles every 4 weeks, the app keeps the dated history and serves side-by-side comparisons at regular intervals.
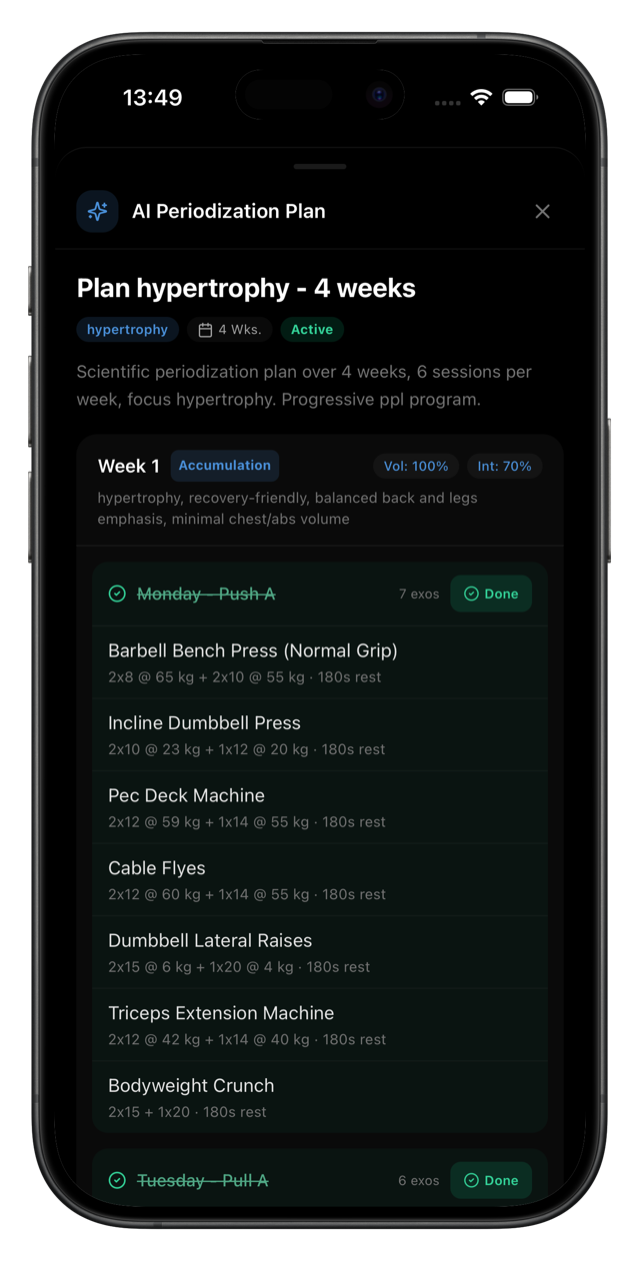
- Loads and volumes: every logged session feeds your progression history automatically, the AI cross-references with your measurements to tell you if your program is delivering or needs adjustment.
Concretely, if you run 6 weeks of a bulk program and your arm circumference doesn’t budge while your bench moves up, the Vance coach detects the inconsistency (likely insufficient calories) and proposes recalibrating your intake. You don’t compile the data yourself in a spreadsheet.
First month of Pro is €3.49 to test this integrated tracking before stepping up to €6.99/month.
Conclusion
Tracking muscle gains with photos and body measurements means escaping the tyranny of the scale and capturing the real signals: shape, density, arms and chest filling out, waist tapering. The protocol comes down to four rules: photos every 4 weeks with standardized conditions, measurements every 2 weeks at the 9 key points, loads logged every session, and judgment over an 8-to-12-week minimum window.
AIVancePro centralizes these three tracking streams in a single app and cross-references the data to tell you when your program needs adjustment. Download AIVancePro on iOS or Android, first month of Pro at €3.49 instead of €6.99.
This article is informational. The advice does not replace a healthcare professional or certified coach when dealing with a condition or any doubt.
FAQ
How often should I take progress photos?
Every 4 weeks. More frequent and you won’t see a difference and you’ll demotivate. Less frequent and you miss plateaus that need fixing.
How do I keep the scale from wrecking my mood?
Weigh in at most once per week at the same moment (morning, fasted, post-bathroom), and judge trends over rolling 3 to 4 week windows, not daily noise.
Which points to measure first if I don’t want to do them all?
Four points to start: flexed arm, chest, waist at navel, thigh at 15 cm above the knee. Covers upper, lower, and the midsection.
Are bioimpedance smart scales useful?
Very unreliable for body fat percentage (margin of error 4 to 7%). Skip them as a primary tool. Photos plus a tape measure give a far more usable signal.
How long before I see visible changes?
8 to 12 weeks with a coherent program and adapted nutrition. Before 8 weeks, variations are too subtle to read on photo.
How does AIVancePro help me concretely with this tracking?
The app stores your dated photos, plots your measurement curves, cross-references with your load history, and alerts you when a metric stalls, so you can adjust volume, load, or nutrition before locking 6 weeks into nothing.
← Back to blog