Squat Proper Form and Technique: The Complete Guide
Learning squat proper form and technique is the single highest-leverage investment you can make in your training. Done right, the squat builds your quads, glutes, hamstrings, and core simultaneously. Done wrong, it’s a fast track to knee pain and lower back problems. This guide covers everything from foot placement to programming, so you can squat heavy, safely, and for the long term.
Muscles Worked: Why the Squat Is King
The squat is a compound movement that recruits more muscle mass than almost any other exercise:
- Quadriceps: primary knee extensors, working through the entire range of motion
- Gluteus maximus: peak activation at the bottom of the squat
- Hamstrings: assist hip extension and stabilize the knee joint
- Spinal erectors: keep your torso rigid under load
- Core (abs and obliques): intra-abdominal pressure and spinal stability
- Calves and adductors: secondary stabilizers
This muscle recruitment profile is why the squat builds more overall mass than isolation exercises, and why mastering the technique pays dividends across your entire training career. No single isolation movement comes close.
Foot Placement and Setup
Stance width: shoulder-width or slightly wider. Your optimal width depends on hip anatomy, people with wider hips often need a wider stance. Toes point out 15-30° to allow the knees to track over the feet during the descent.
Quick test: squat down without a bar and find the width where you feel most comfortable and stable at the bottom. That’s your natural stance.
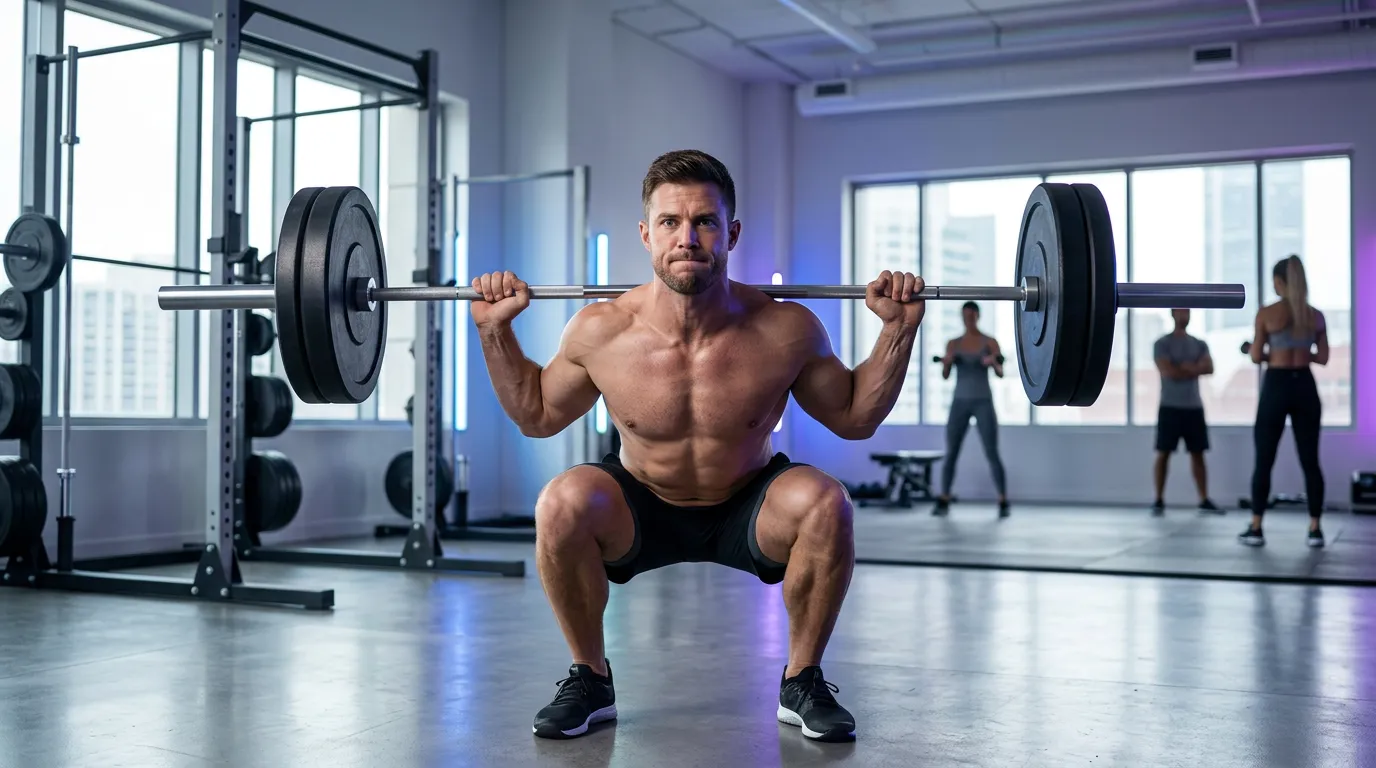
Bar position (barbell back squat):
- High bar: bar rests on the upper traps, more upright torso, greater quad emphasis, standard for bodybuilding
- Low bar: bar rests on the rear deltoids, more forward lean, greater posterior chain involvement, preferred in powerlifting
Eye gaze: fix your eyes on a point slightly below eye level, about 5-6 feet in front of you on the floor. Looking up hyperextends the cervical spine. Looking down collapses the chest. Both destroy your brace.
Grip: bring your hands as close to your shoulders as mobility allows. Pull your elbows under the bar to create a muscular shelf with your traps. A wide, slack grip means an unstable bar position that worsens under load.
Before unracking: confirm the bar is centered across your back, your weight is balanced across the mid-foot (not the toes, not the heels), and your spine is neutral, neither hyperextended nor rounded.
The Descent: Bracing, Depth, and Knee Tracking
Bracing, the most important step: before you descend, take a big diaphragmatic breath into your belly, not your chest. Then brace your abs as if you’re about to take a punch. This creates intra-abdominal pressure that acts as a natural weight belt and protects your lumbar spine from buckling under load. This is called the Valsalva maneuver, and it’s non-negotiable for heavy squats.
Knee tracking: your knees must follow the direction of your toes throughout the descent. Knees caving inward (valgus) is the most common squat error and a significant injury risk. If it happens, your hip abductors are weak, your ankle mobility is limited, or the load is too heavy.
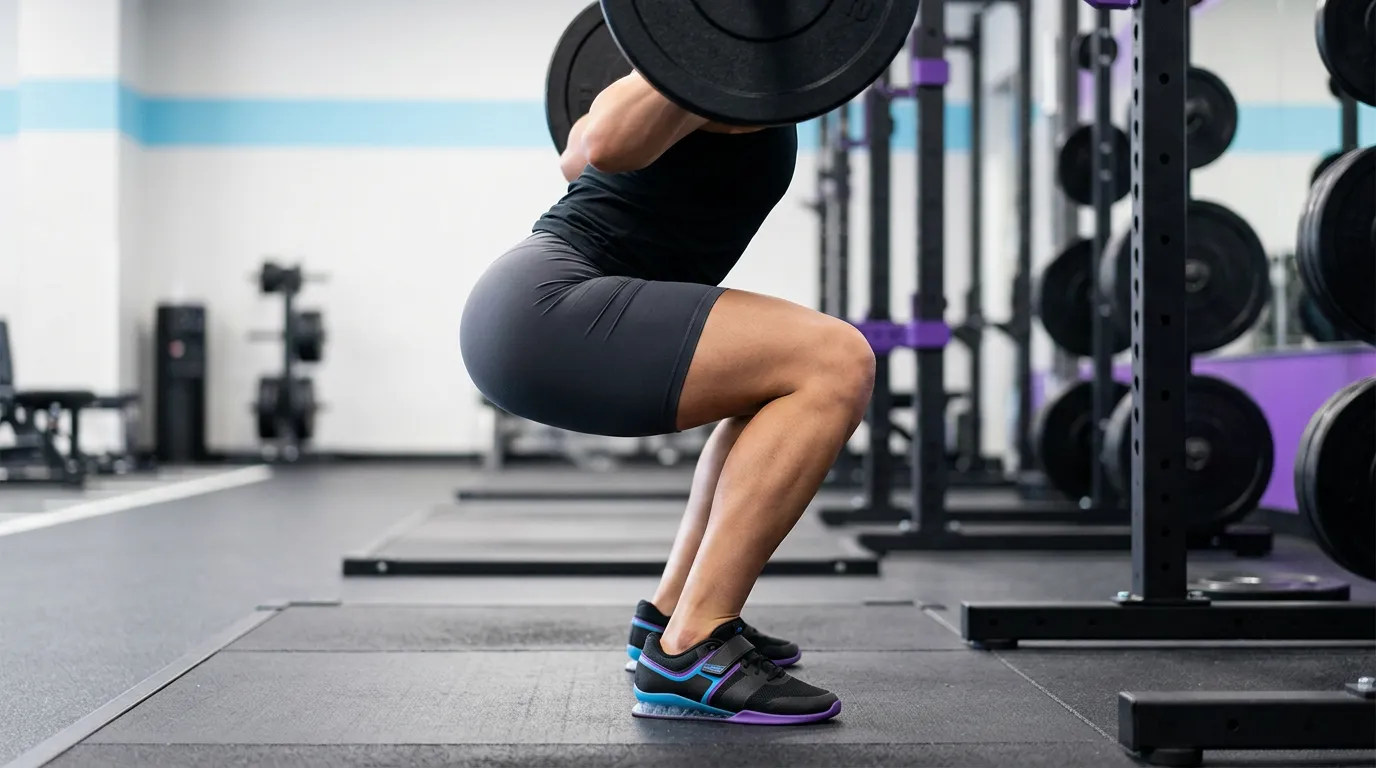
Depth: the minimum standard is parallel, thighs horizontal to the floor. Deep squats (hips below knees) maximize glute activation, provided your hip and ankle mobility support it without losing a neutral spine. Depth is individual, femur length, hip socket anatomy, and ankle mobility all influence your natural range.
Knees past toes: perfectly safe and anatomically necessary for a deep squat. The real concern is valgus collapse, not forward knee travel. Restricting knee travel actually forces more forward lean and increases lower back stress.
Descent tempo: aim for 2-3 seconds down. A slow, controlled descent builds more time under tension and keeps your brace intact all the way to the bottom.
The Ascent: Where Strength Is Built
Drive from mid-foot: push through your entire foot, not just the balls of your feet. Cue: imagine trying to push the floor apart. This recruits your glutes and keeps your knees tracking correctly through the drive.
Hips and shoulders rise together: the most common error under fatigue is letting the hips shoot up faster than the shoulders, converting the squat into a dangerous good morning. Focus on keeping your chest up as you drive upward, especially in the first third of the ascent.
Full extension: stand up completely at the top. Knees extended but not locked, hips fully open. Don’t cut your reps short.
Breathing: exhale at the top, once the most demanding part of the lift is complete. Exhaling mid-rep causes you to lose the intra-abdominal pressure that protects your spine.
Common Mistakes and How to Fix Them
1. Knee valgus (knees caving inward) The most common error, especially on the way up under heavy load.
- Causes: weak hip abductors, poor ankle mobility, too much weight
- Fix: add hip abductor work (clamshells, band walks, hip thrusts), temporarily elevate your heels if ankle mobility limits knee tracking, reduce load until form holds
2. Heels rising Weight shifts to the toes, heels come off the floor.
- Causes: tight calves or Achilles, limited ankle dorsiflexion
- Fix: daily calf stretching, squat with heels elevated 1-2 cm (a 5 kg plate works) while you build ankle mobility over weeks
3. Good morning squat Hips shoot up, torso falls forward, lower back takes the load.
- Causes: weak quads relative to the posterior chain, or bar positioned too high for the load used
- Fix: add leg press and front squats to strengthen quads, reset bar position, reduce weight until simultaneous hip-shoulder drive is consistent
4. Butt wink Lower back rounds at the bottom of the squat.
- Causes: limited hip mobility, proportionally long femurs
- Fix: stop depth at the point where your spine stays neutral. Work hip mobility consistently (90/90 stretch, deep hip flexor work).
5. Chest collapse Torso caves forward during the lift instead of staying rigid.
- Causes: poor bracing, weak upper back, bar sitting too high on the neck
- Fix: heavy planks, barbell rows to build upper back strength, practice bracing technique without load
Squat Variations Worth Knowing
Goblet squat: the best starting point for beginners. Holding a dumbbell or kettlebell in front of your chest counterbalances naturally and forces an upright torso and proper depth. Master this before moving to the barbell.
Front squat: bar rests on the front deltoids. More quad-dominant, near-vertical torso, less lower back stress than the back squat, but requires greater wrist and ankle mobility.
Bulgarian split squat: rear foot elevated on a bench. Unilateral work corrects left/right imbalances and improves hip mobility. An excellent complement to bilateral squatting.
Box squat: squatting to a defined box height. Useful for controlling depth consistently and training explosiveness from the bottom position under load.
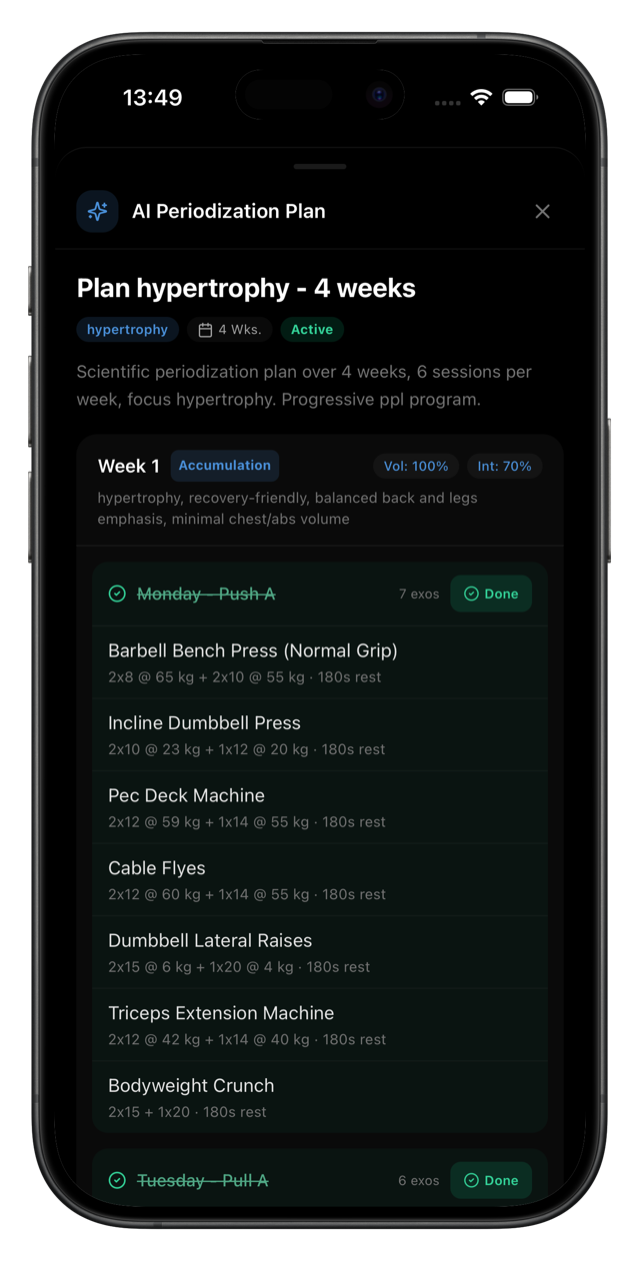
If you’re using AIVancePro’s AI coaching feature, it can recommend the right variation based on your mobility profile and goals, available on iOS.
Programming and Progression
Beginners: 3 sets of 5-8 reps, 2-3 times per week. Linear progression: add 2.5 kg every session as long as form holds. This is the fastest way to build the motor pattern and accumulate early strength gains.
Hypertrophy: 3-4 sets of 8-12 reps, 90-120 seconds rest. Progress weekly or every two weeks based on recovery.
Strength: 5 sets of 3-5 reps at 80-90% of 1RM, loaded in 4-6 week cycles with planned deload weeks.
The golden rule: never add weight if your form breaks down. A technically clean squat at 80 kg builds more muscle and keeps you training longer than a sloppy squat at 120 kg.
Warm-up: before every squat session, spend 5-10 minutes on ankle mobility (ankle circles, wall ankle stretches), hip mobility (hip 90/90, hip circles), and progressive bodyweight squats before loading the bar.
Conclusion
Squat proper form and technique is a skill that compounds over time. Start light, record yourself from the side and front to catch errors early, and progress methodically. The athletes who squat consistently with good technique for years are the ones who build the most muscle and stay injury-free.
To take your squat programming further with a plan adapted to your body and goals, AIVancePro’s built-in AI coach adjusts your training in real time based on your progress. First month is €3.49, available on iOS.
Disclaimer: this article is for educational and informational purposes only. If you experience joint pain or have a pre-existing condition, consult a healthcare professional or physiotherapist before performing loaded squats.
FAQ
Is squatting bad for your knees?
No, when performed with correct technique, squatting is safe and beneficial for knee health. Research consistently shows that properly executed squats strengthen the muscles around the knee and do not damage the joint. Problems arise from poor form (valgus collapse), excessive load progression, or pre-existing conditions.
How deep should you squat?
The minimum standard is parallel (thighs horizontal). If your mobility allows, a deep squat with hips below knees increases glute activation. Never force depth at the cost of a neutral spine, that’s when injuries happen.
Can your knees go past your toes when squatting?
Yes, and they should in a deep squat. Restricting knee travel forward actually forces more lean and increases lower back stress. The real concern is knees caving inward (valgus), not forward travel.
How long does it take to learn proper squat form?
With 2-3 sessions per week, most people develop solid fundamentals in 4-8 weeks. Ankle mobility gains can take several months. Start with the goblet squat to build the movement pattern before loading a barbell.
Should I use a weightlifting belt for squats?
Not until you’re lifting near-maximal loads (above 85% of 1RM) and have already mastered bracing without one. Using a belt too early prevents you from developing the core stability that protects you at moderate weights.
← Back to blog